I've been sorting out my studio (only 3 years after moving in - or is it 5?) prompted by the discovering that decorating decisions made by previous owners had inadvertently transformed the room (small, upstairs) into a perfect garden for black mould. In case you're curious, here is the process, instructables-style.
- Roughly remove the original paintwork, and lightly damage the plaster surface. The resulting uneven surface will create pockets where moisture can gather under your wall coverings, very important for making sure the mould penetrates the plaster deeply.
- Cover your ventilation brick thoroughly, I mean, bury the bugger. Leave that open to the air and you will just get ventilation. And what does ventilation mean? Drafts. And what does black mould hate? Moving air. Bonus if you can stuff it full of something that mould likes. Old newspaper for example. Double bonus if you can cover it with something else mould friendly. I'm thinking corrugated cardboard.
- Cover your uneven surface with shiny lining paper. This will make a "key" for your main wall covering and create an additional condensation surface when the wall-coverings delaminate. Don't worry about using actual wallpaper paste for this - just use anything.
- Impermeable membrane time! Make it a thin one (perhaps that lovely product which is made of a double layer of silvery stuff and thin black plasticoted paper). This will ensure more moisture in the upper delaminated areas, and that's the really important thing, because you're now in the main growing area.
- Now you need something textured and deep to make a really good surface for growing mould. The people in my house used thin polystyrene tiles, which has the added bonus of being both a good condensation gatherer in itself and a severe fire risk.
- It is now wallpaper o'clock. Think deep, thick, soft paper which will sop up water like blotting paper. You're probably thinking woodchip, but there are actually lots of different textured papers on the market, so pick something nice! Or something horrible, as it'll just get eaten by mould. If you have problems getting this to stick to the polytiles, try another layer of lining paper, but go for something a bit softer and more absorbent this time, for better water retention.
- Paint over it all. Use a problem paint with plenty of plastic in it so the paper can't breathe. Bonus if you use something so vile and densely coloured that the next person in the house has to put three layers of extra light-reflecting white over the top, as that'll keep the moisture where it needs to be, in those steadily delaminating wallpaper layers.
- Brilliant! Your mould garden will be ready in between seven months and seven years, depending on environmental factors (presence/absence of wall cavity, usage of room, etc.).
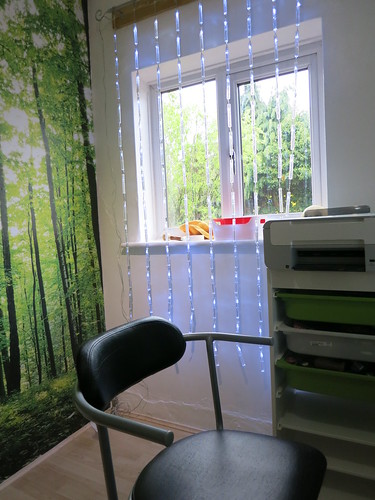
It seemed a shame to get rid of one garden without replacing it with another, and therefore this:
No comments:
Post a Comment